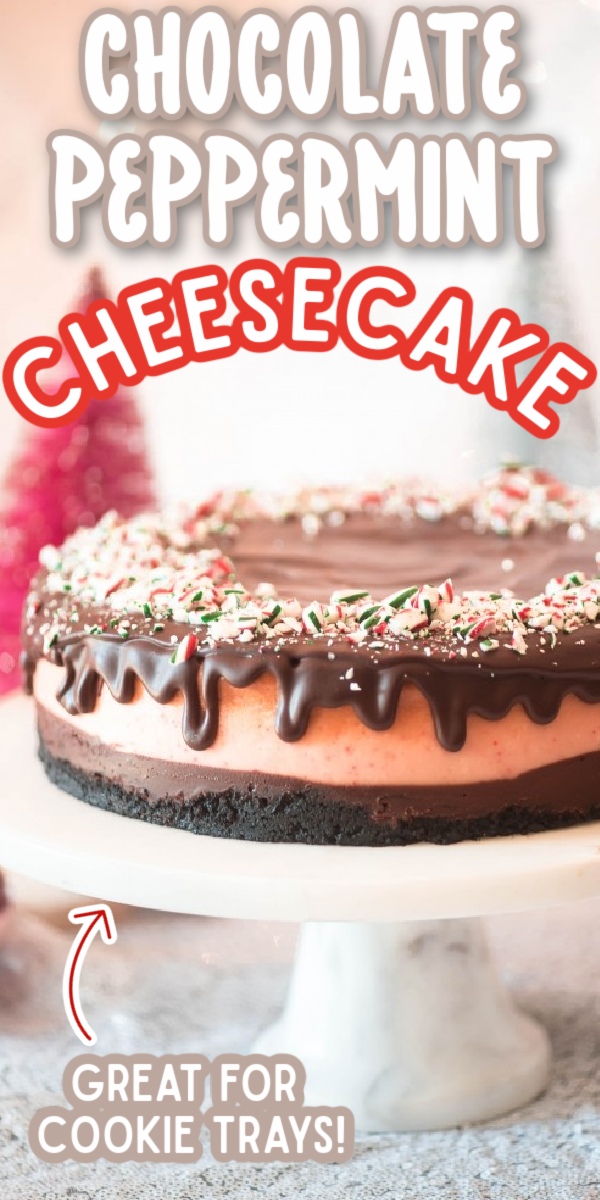
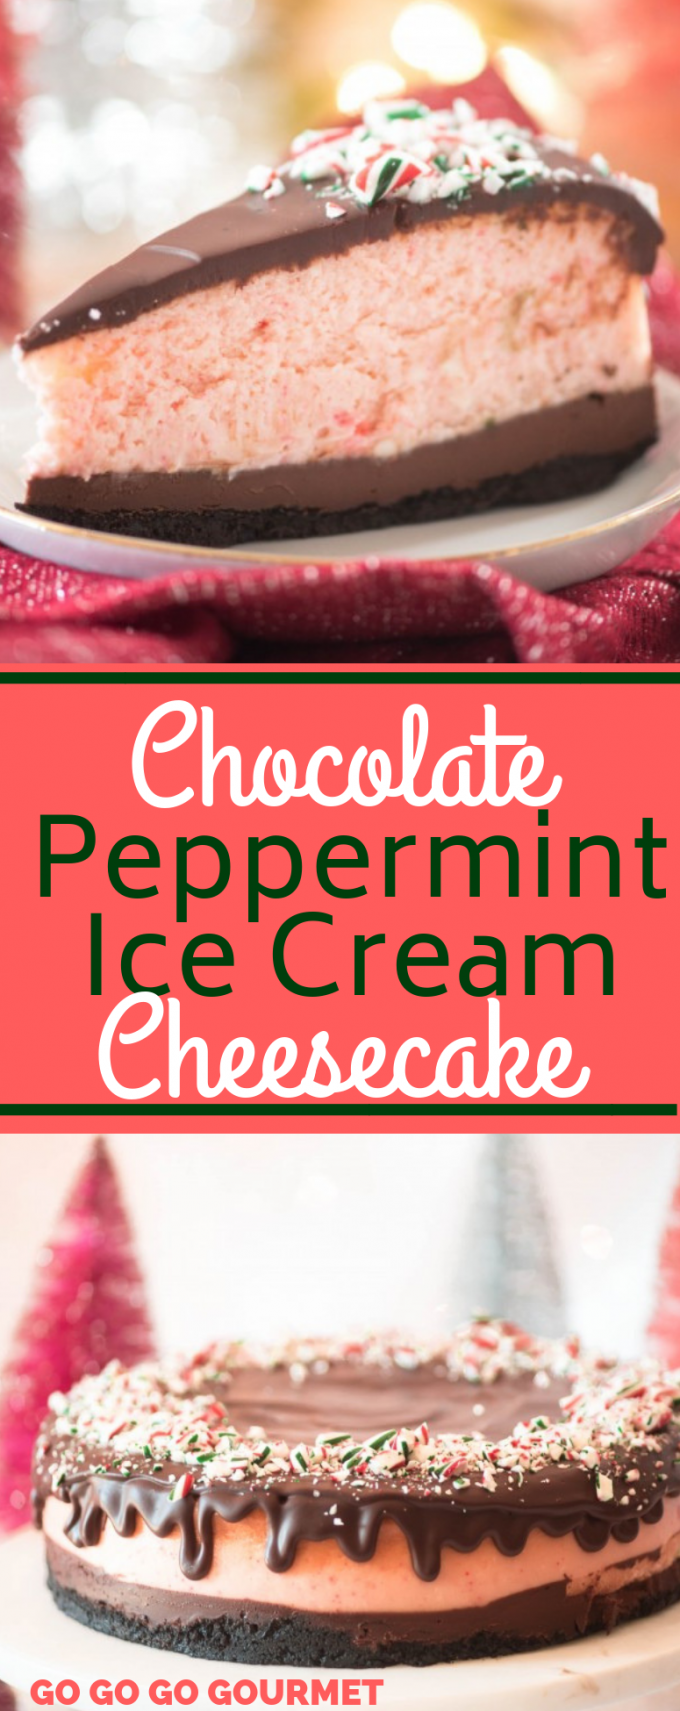
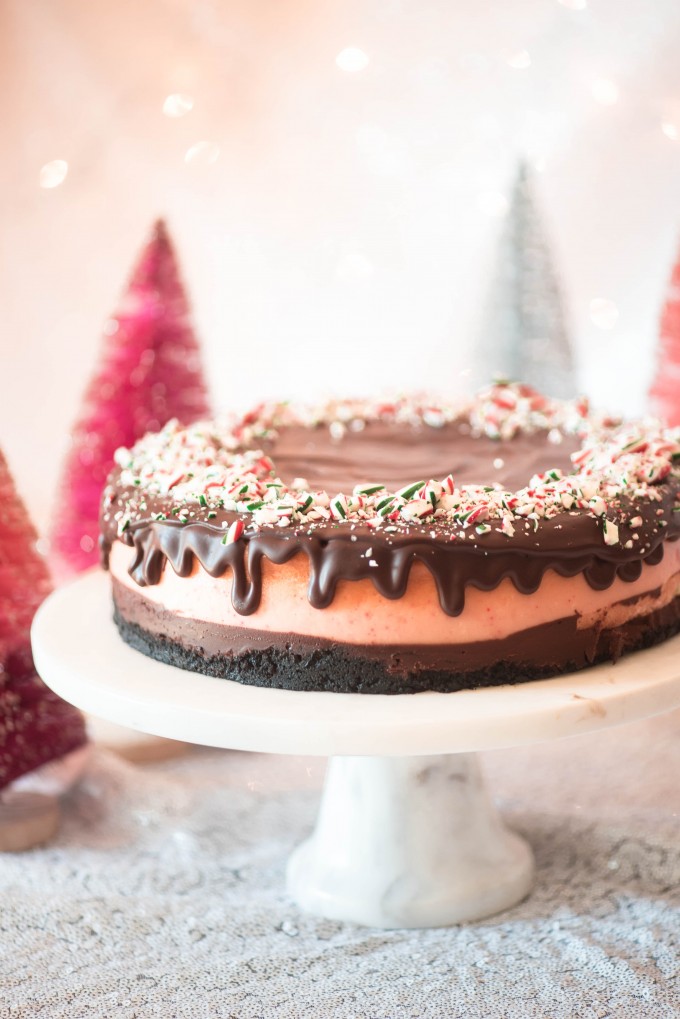
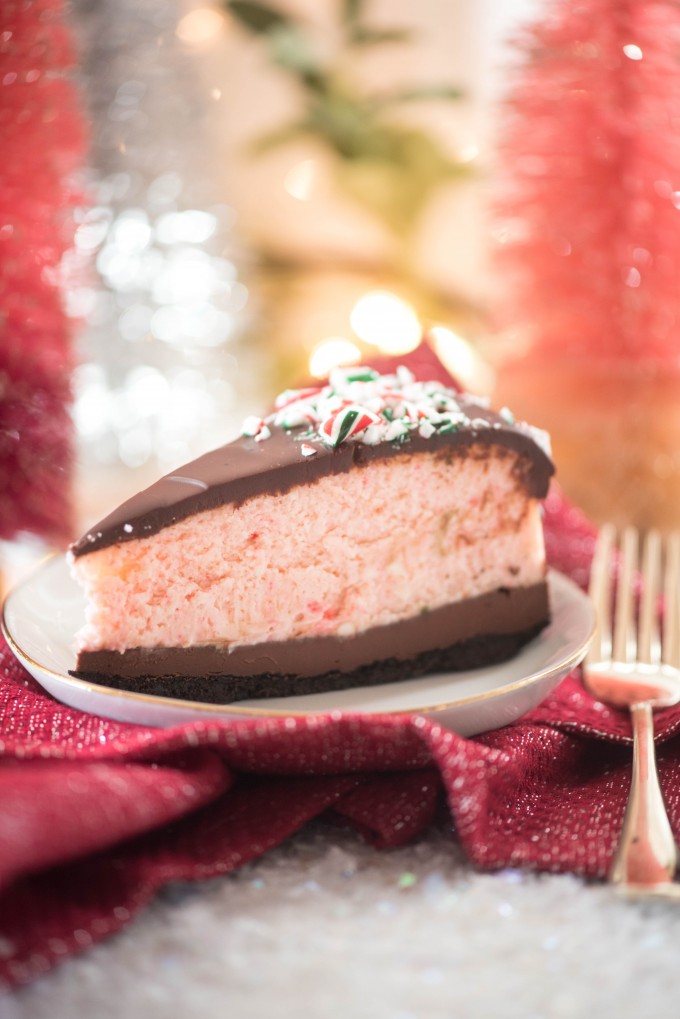
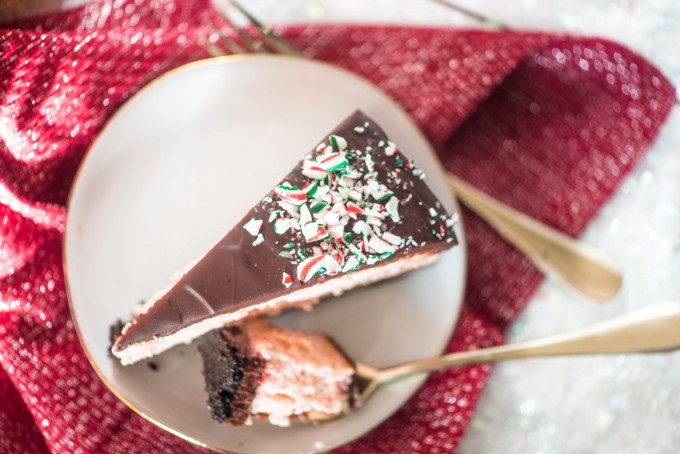
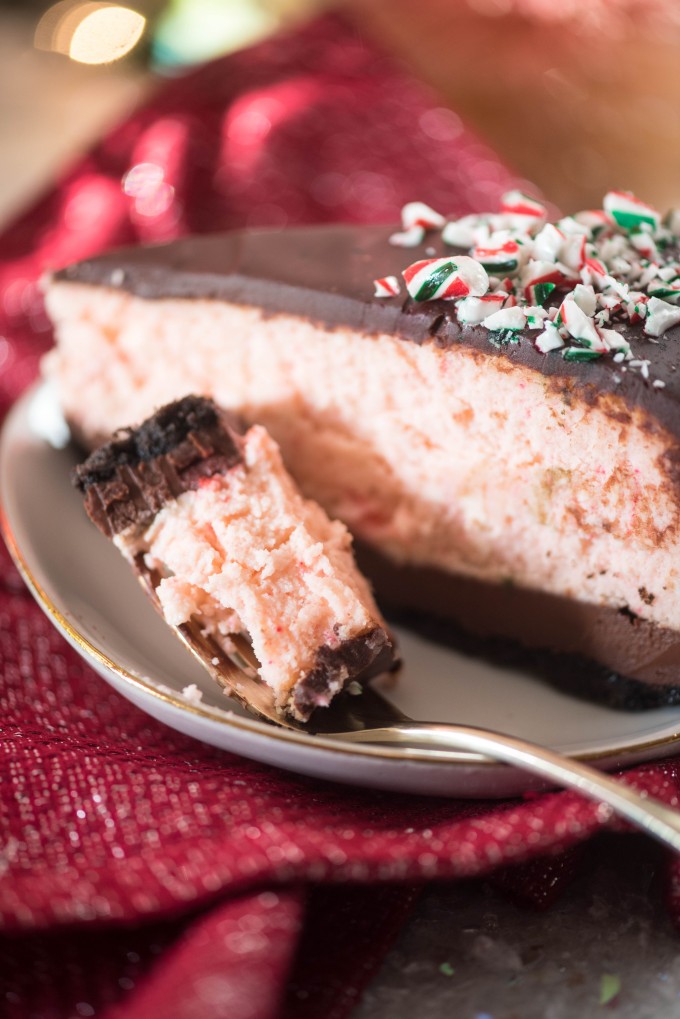
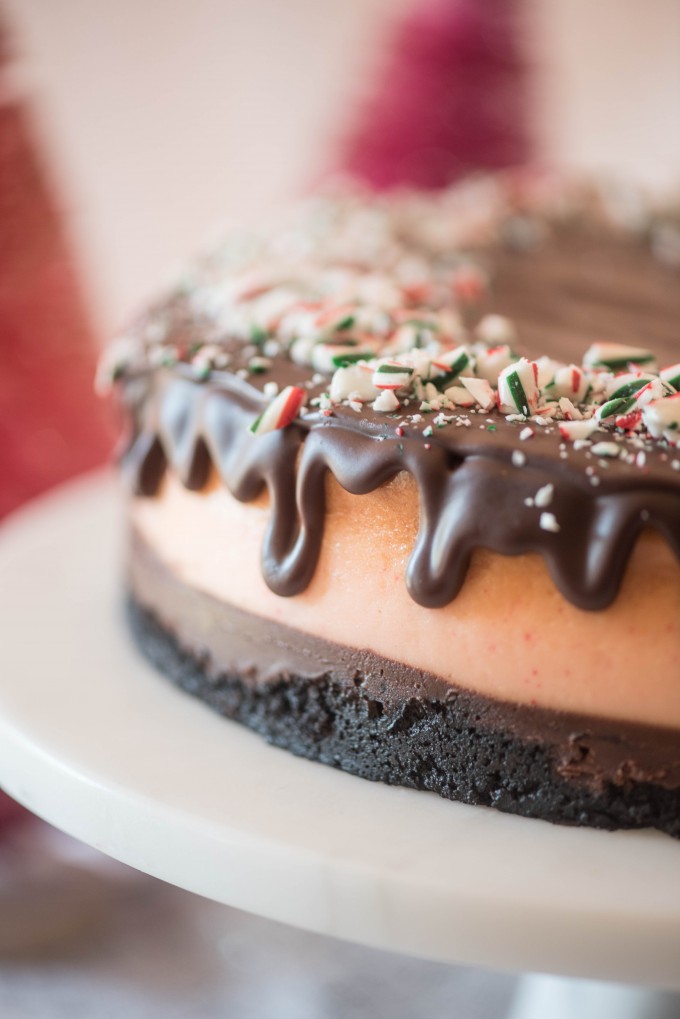
You’ve never made a cheesecake like this- out of ice cream! This Chocolate Peppermint Ice Cream is out of this world, and a simpler way to make a stunning holiday dessert! A beautiful layering of cookie crust, chocolate ganache, peppermint cheesecake and chocolate topping.
There’s a not-so-hidden secret in the food world- there are very few new ideas. Sure there are lots of recipes that are different, or variations, or hell, even a straight copy of someone else’s work. Even though I’ve been writing for almost FOUR years now, I’ve only come up with one completely unique recipe concept in that time- my Fireball Sangria.
Until now. Now I’ve come up with my second, and I’m even more excited about this one.
I actually had the idea for this peppermint cheesecake last year. You see, peppermint ice cream is my absolute favorite ice cream in the WORLD. Unsurprisingly, it’s usually only available in the holiday season, and I go a little nuts when I buy it.
No apologies from me on that one.
How to make cheesecake from ice cream
I actually had this idea almost a full year ago. I discussed it with a couple of other blogging friends and got mixed reactions about the efficacy of what I considered to be a genius idea. How much easier would it be to make cheesecake if you could reduce the number of ingredients? Was it possible to make a cheesecake out of just cream cheese, eggs, and ice cream?
The answer is yes and no. I DID have to slightly amend my original idea. First, it was clear that I would have to add flour- the softened ice cream was just too liquidy without it. Then, after I tasted the batter for my first cheesecake, I decided that there was not enough sugar in the ice cream alone- once you added the eggs, the cream cheese and the flour, it tasted kind of bland.
But once I added a little sugar and cut down on the flour by just a little bit, it seemed like a real possibility that it would work and taste exactly like I wanted it to. I also added just a little bit of pink food coloring to restore the color of the ice cream.
Tips for Baking This Chocolate Peppermint Ice Cream Cheesecake
Normally I don’t bake my cheesecakes in a water bath. I actually normally don’t make cheesecakes at all, because I find them annoying fussy. However, since I made up a different cheesecake recipe two years ago, I actually like making them. My normal recipe does just fine without a water bath, but this one I was a little leery about. I figured taking the extra 30 seconds to bake it in the water bath would behoove me.
When you do the water bath, make sure to wrap the bottom of your springform pan tightly with foil. I had a brand new pan and did not wrap the bottom. As a result, the very outer crust got a teeny bit wet- after chilling it wouldn’t be perceptible to anyone but myself, but still. Might want to give the pan a quick wrap.
If you’re unfamiliar with a water bath, its quite simple. You place your springform pan inside another larger pan. Fill the larger pan with water until it reaches halfway up your springform pan. You’ll bake for a longer period of time, but it will bake at an even pace, and this should help prevent it from cracking.
This is important to read, and will probably keep you from emailing me in a panic once this is in your oven: even if you are an experienced cheesecake baker, you will think something is wrong when this is baking. I, for example, texted David that I was 99/100 sure that the cheesecake was going to fail and I’d have to do it a third time.
But I waited, and waited, and waited. Slowly, slowly, slowly the cheesecake set up. However, IT NEVER ROSE. Most of the cheesecakes I’ve made rise while baking- but not this one. I’m genuinely not sure why this is- with six eggs, you would think it would, but no. It baked for a really long time, 80 minutes, then I turned the oven off and cracked the door for another 30-45 minutes before I finally took it out and let it cool on the counter.
I don’t recommend taking the ring off until after it has been in the fridge for several hours to really cool and set. Then run a knife around the outside (if necessary, it perfectly pulled away from my nonstick pan on its own) and remove the ring.
A pour of chocolate ganache glaze and a sprinkle of crushed peppermint, one more nap in the fridge, and you’re about to taste
Equipment for Baking Chocolate Peppermint Ice Cream Cheesecake
[easyazon_link identifier=”B009VUHLHA” locale=”US” tag=”gogogogo03-20″]Hand Mixer[/easyazon_link] or [easyazon_link identifier=”B00005UP2P” locale=”US” tag=”gogogogo03-20″]Stand Mixer[/easyazon_link]- arm power alone isn’t enough to whip air into the cream cheese, sugar and eggs.
[easyazon_link identifier=”B008A0O4NQ” locale=”US” tag=”gogogogo03-20″]Rose Food Coloring[/easyazon_link]- just a small amount to bring back the color lost by mixing the pink ice cream with the yellow cream cheese/egg mixture.
[easyazon_link identifier=”B000237FSA” locale=”US” tag=”gogogogo03-20″]9″ Springform Pan[/easyazon_link]
[easyazon_link identifier=”B01I41UZN8″ locale=”US” tag=”gogogogo03-20″]Lasagna or Roasting Pan[/easyazon_link]- a regular 9×13 baking pan likely won’t work for a water bath. The fit with a 9″ springform is too tight.
Recipes Related to this Chocolate Peppermint Ice Cream Cheesecake
Chocolate Peppermint Ice Cream Cheesecake with Oreo Crust and Chocolate Ganache
Ingredients
Crust
- 20 chocolate sandwich cookies Oreos
- 4 tablespoons butter
Ganache
- 8 oz bittersweet chocolate chips
- 1 cup cream
Filling
- 4 8 oz. packages cream cheese room temperature
- 1 cup sugar
- 6 large eggs room temperature
- 1/4 cup + 2 tablespoons flour
- 2 cups softened peppermint ice cream
- Pink food coloring
Topping
- 6 oz bittersweet chocolate chips
- 1 cup cream
- 1/2 cup crushed candy canes
Instructions
- Preheat oven to 350 F.
- Place the oreos in the bowl of a food processor. Run until finely ground, then pour in the melted butter with the machine running. Scrape down the sides and pulse a few extra times to make sure that the crumbs are evenly coated. Press into the bottom of a 9 inch springform pan.
- For the ganache: Heat the cream in the microwave for 90 seconds. Pour over the chocolate and let sit for 1 minute. Stir until creamy and melted, with no lumps remaining.
- Pour the chocolate over the cookie crust in the pan; spread to edges. Place in freezer for 30 minutes.
- In the bowl of a stand mixer, beat together the cream cheese and sugar until fluffy. Add the eggs, one at a time, scraping the bowl between eggs. Sprinkle in the flour and mix in. Pour in the softened ice cream and mix until evenly combined. Add a small amount of pink food coloring until desired color is reached.
- Wrap bottom of springform pan tightly with foil. Pour the prepared filling into the pan. Place filled pan inside a larger pan (lasagna or roasting pan). Place in preheated oven, then fill with water until the water reaches halfway up the height of the pan.
- Bake in preheated oven for approximately 80 minutes, until the top is lightly browned and the middle is just a little jiggly. Turn off the oven and open the oven door. After 30 minutes, remove from oven and cool for another 30 minutes. Place in refrigerator until cool.
- For the topping, repeat the process used for the ganache: microwave the cream for 60 seconds, pour over chocolate, let sit, then stir until smooth. Pour over the top of the cooled cheesecake, allowing it to drip down the sides.
Notes








Leave a Reply