Guess what, lucky ducks? Today I’m sharing an awesome recipe for brioche buns.
What is she talking about? She is really losing touch with the point of this blog. Its supposed to be recipes that you can handle making in a go-go-go life. Baking bread? Is she insane? Who really has time for that?!?
Guess what? YOU do.
The great thing about this bread is that all of it gets mixed up BY HAND the night before, and then left to rise in the refrigerator for 12-24 hours. No stand mixer. No kneading. No rising, then punching down, then rising again. Imagine this: take 90 seconds of your life to mix these 6 ingredients together in a bowl and then throw it in the fridge. The next evening, you throw it in the oven and then you have fresh bread.
In fact, I even tried to adapt this recipe by adding more yeast and a touch more flour so that it would be able to a single 2-3 hour rising time- I wanted to have it the same night. It didn’t work well. The dough really needs to be cold for you to even have a chance in hell of handling it, and it didn’t rise very well, even though I more than doubled my yeast (although in hindsight, I’m not sure that the yeast was still good). The more I thought about it, I wondered why I was going out of my way to actually make this recipe LESS convenient for most people. Sure, maybe I wanted to eat it right then, but for most people, especially people that work out of the home, it would be so much easier to do the mixing the night before or before leaving in the morning, doing the rising while they are at work, and then just have to bake when they get home.
Also, how great would this be with the Carnitas Burrito Bowl Soup that I posted on Monday? And think about it, you could turn on your oven, then turn up the crockpot for the last hour, and bake your bread during that time. You’re welcome.
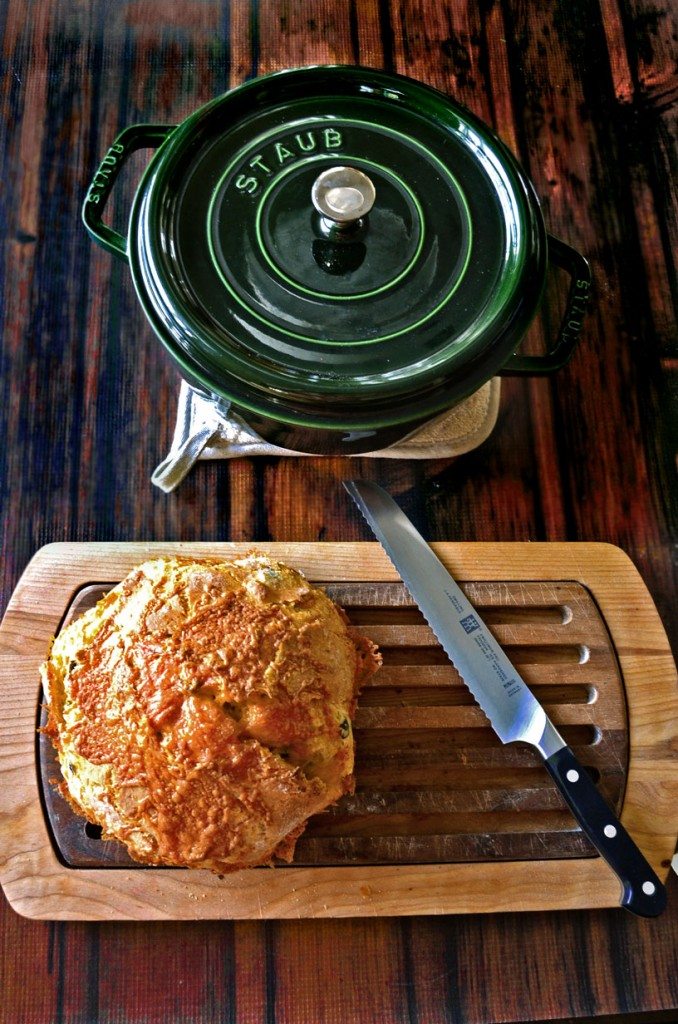
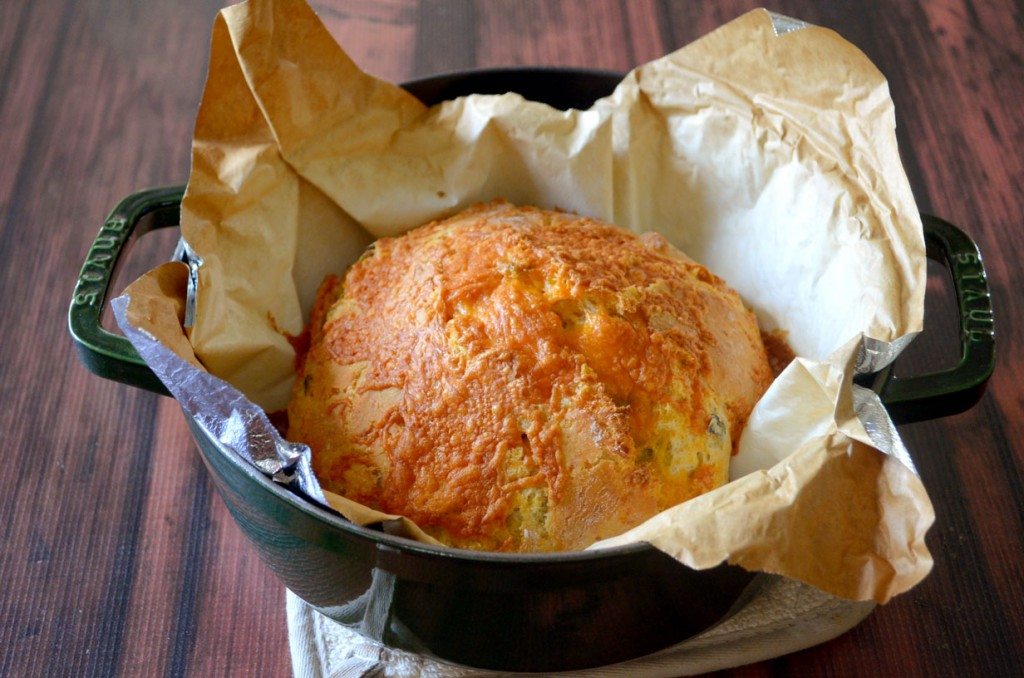
This bread is also the first time that I’ve ever used my Staub cookware for bread-baking. I can’t even tell you how great it was to use- the outside has a nice crunch crust, but the inside is so soft. I’m going to have to try out more recipes like that. I feel like there’s so few things you can’t do in that cookware. Its incredible to use and beautiful to look at.
Zwilling was ever-so-nice in sending me their Knife of the Month to try- the 8″ Zwilling Pro Bread Knife. There is something about getting a new knife that I find so exhilirating- there is nothing like the first cut with a brand-new knife. Its like cutting through softened butter. The knife itself was great, really sturdy and a little heavier than my current knife. It handled the too-tough crust of my attempted adapted recipe like it was nothing.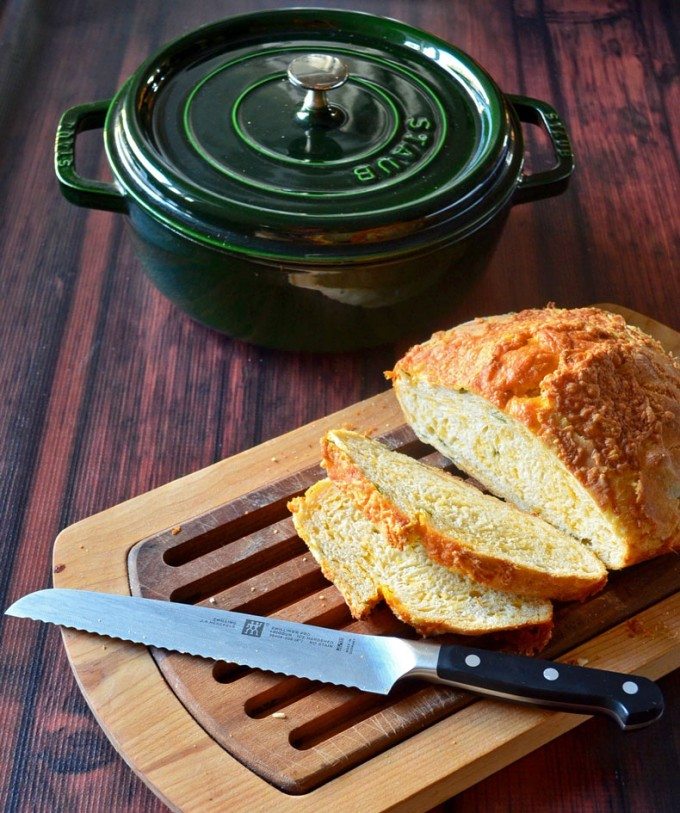
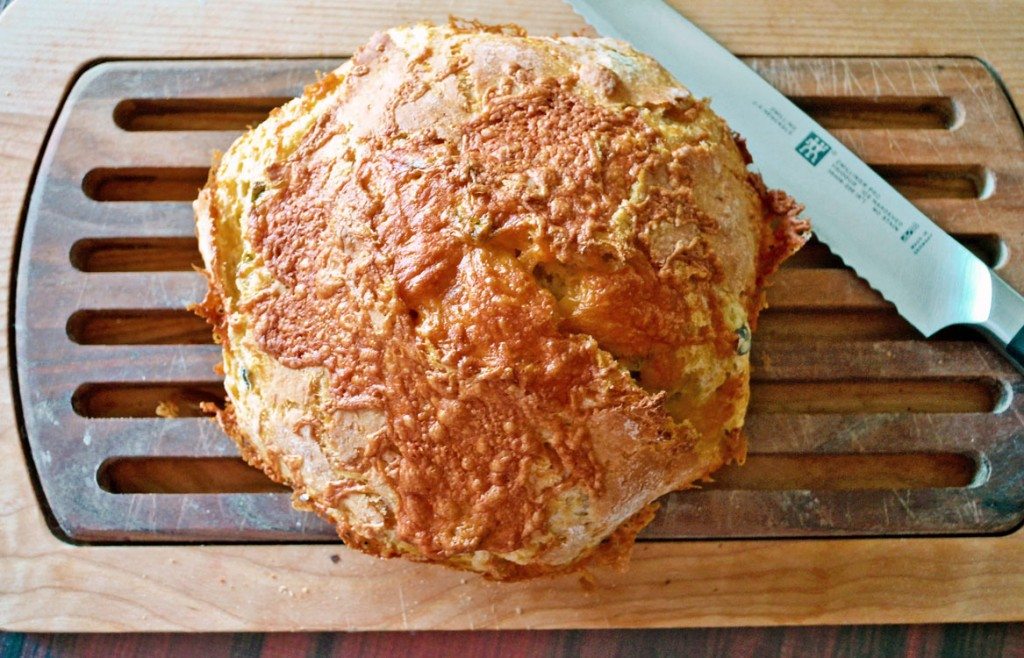
[A note from a weary food blogger: I can’t lie. I was a lot more full of hope when I wrote this post. The bread was in the oven, it smelled great- then I opened my pot and the damned thing looked like a discus. I should ship it off for the next Summer Olympics. I’ve never had an issue with bread baking, and with no fails in a row- I was PISSED. After chatting it over with my flour-friend, it was determined that the dough was way too wet from all the extra humidity. Thinking back, I haven’t baked any bread since moving here. I’ll chalk this one up to a lesson learned. My flour friend made it to the T a few days later with the measurements specified below. If you live in any sort of humid climate- I had to add about an extra 2/3 cup of flour. The dough should be like a sticky Play-Dough- you should be able to mold it into a ball after it rises.]
Cheddar Jalepeno Bread
Ingredients
- 1 tsp yeast
- 1 tsp salt
- 3 cup flour
- 1 1/4 cup shredded cheddar cheese divided
- 2 fresh jalepenos seeded and chopped
- 1 1/2 cups warm water
Instructions
- In a mixing bowl, whisk together the yeast, salt and flour. Sprinkle in the cheese and peppers and whisk again.
- Using a wooden spoon, stir in the warm water. The dough should be sticky and shaggy (I needed about another 1/3 cup flour to achieve this texture).
- Cover with plastic wrap and place in refrigerator to rise for 12-18 hours, or up to 24 hours.
- Preheat the oven to 450. Place a dutch oven in the oven for 30 minutes to preheat.
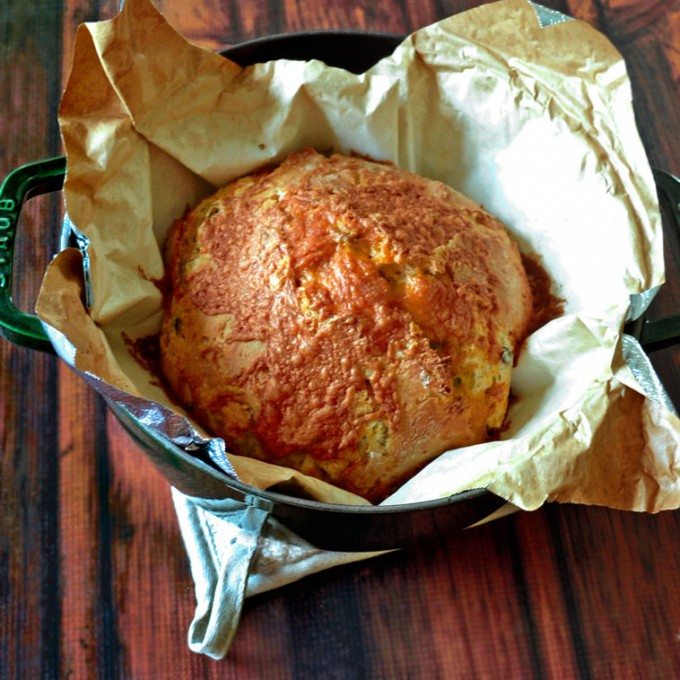
- Flour a work surface and turn out your dough on to it. Sprinkle with more flour (dough will still be sticky) and form into a ball. Place into the preheated pot, cover and bake for 30 minutes.
- Sprinkle with an additional 1/4 cup cheese and bake uncovered for an additional 10 minutes.
*Thanks to Zwilling for sending Go Go Go Gourmet a knife to review. All opinions are my own.*








Trisha - The Lazy Mom says
Booyah. You got it girl! So glad it worked out! And that Staub dutch oven? #CookwareEnvy
Go Go Go Gourmet says
Damn discus bread…
Justine | Cooking and Beer says
You had me at “no-knead!” I am the most impatient baker on the planet and I love when bread requires less kneading! Lazy, I know, but this looks delicious! Pinning!
Kyli says
Looks amazing – any suggestions for baking as a loaf?